We’ve been making focaccia bread in our family for years- before its was something trendy! This version is easy, soft and as a regular bread aficionado, probably my all-time favorite carb.
Focaccia Bread Recipe
This recipe was handed down to me from my mom. I grew up coming home after school to fresh baked focaccia bread ready for my after school snack. The house would smell so good, and it honestly just felt like a warm hug coming home! When we had leftover focaccia we’d make croutons with it. They would rarely last long enough to make it on a salad. Homemade croutons are probably my second favorite carb, next to bread, that is.
Focaccia Bread for Sandwiches
Being that we’ve been making this for so long in my family, I’m so excited to share this recipe. It’s delicious served with marinara (or any dipping sauce, really), or even on Pressed Italian Sandwiches. I actually really encourage this recipe for making any kid of sandwich, especially for a crowd. You can slice it in half, and batch make sandwiches. Perfect for any occasion, but especially great for picnic dates.
Making Homemade Focaccia
- To get started, the first step is to mix your dough, starting off by proofing the yeast (combining warm water, honey and yeast). The warm water and sugar in the honey helps activate the yeast.
- To mix the focaccia bread dough, use a Kitchenaid with a dough hook.
- If you want to mix it by hand:In a mixing bowl, gradually stir in flour, olive oil and salt until dough begins to form (it will be sticky). Afterwards, turn the dough out onto a surface sprayed with nonstick spray (or olive oil) and knead by hand for 5 minutes until smooth. If the dough feels sticky, add 1/4 cup flour gradually until desired consistency is reached.
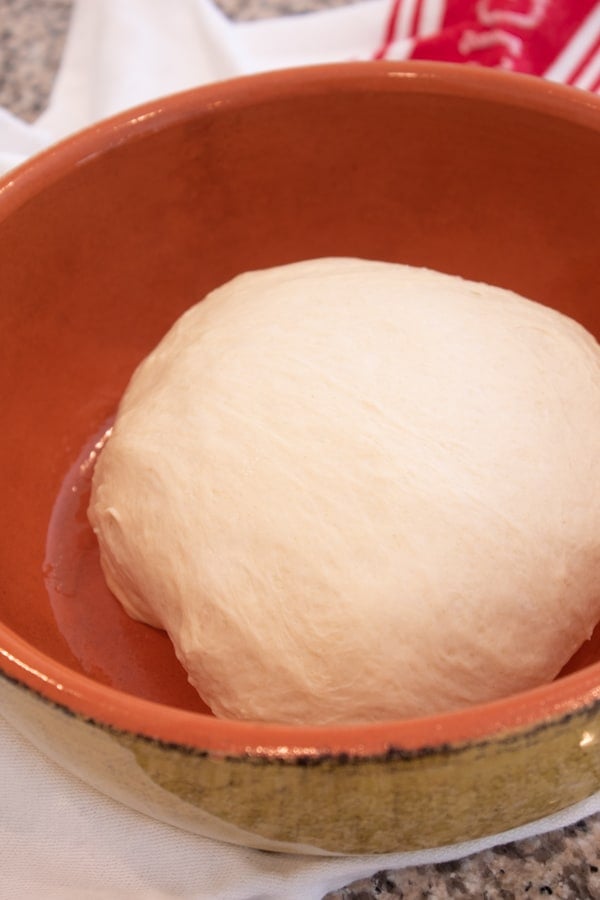
- Once the dough has been mixed, transfer it to a bowl sprayed with nonstick spray (or olive oil) and let it rise in a warm space, covered with a damp towel.
- Tip: If you make this bread when it’s warm out, stick the bowl outside. It even works to place it in a warm garage or laundry room. The damp towel helps create humidity, which allows the yeast to rise to its full potential.
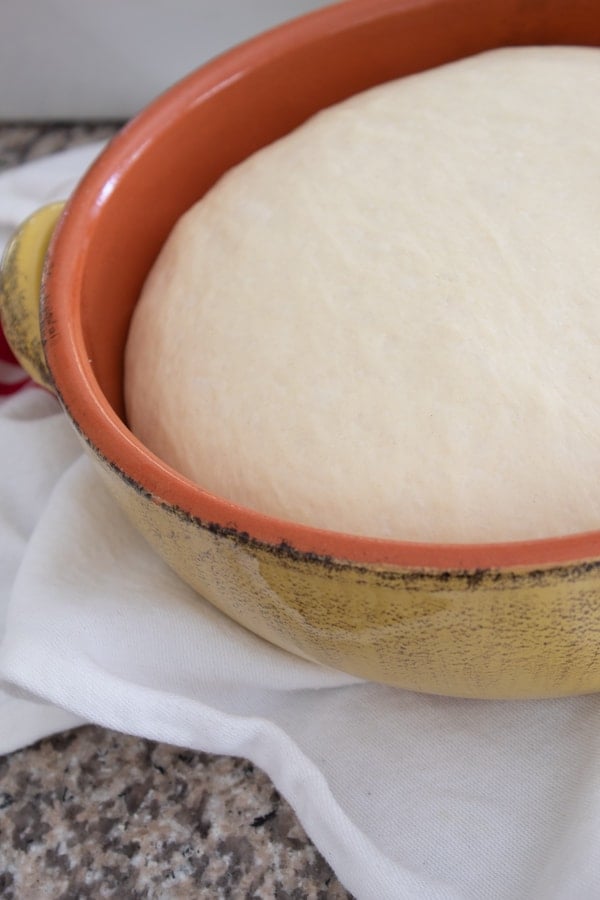
- Allow the dough to rise for about 45-60 minutes.
Prepping & Baking Focaccia Bread Dough
See how pretty it is!
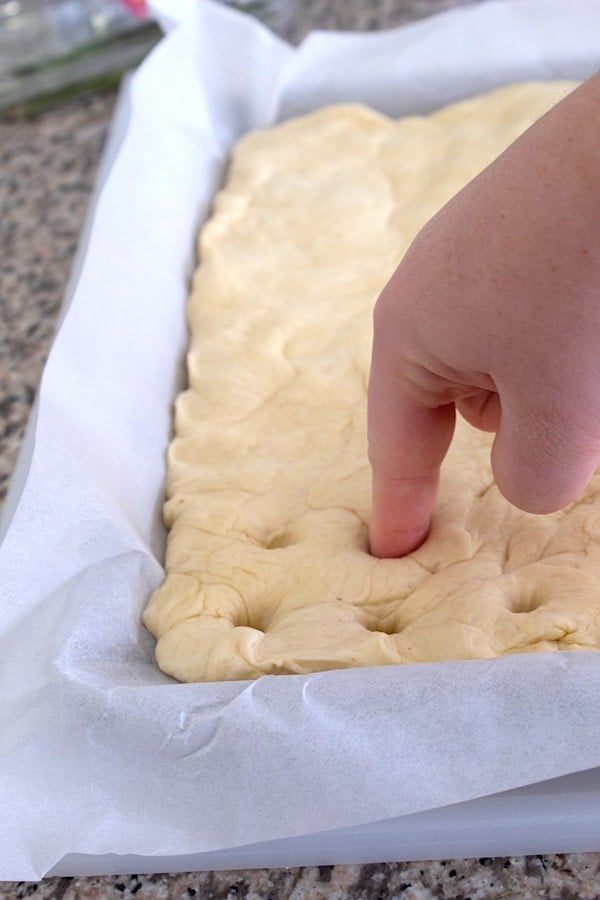
After the dough has risen, transfer it to a cutting board sprayed with nonstick (or olive oil) and roll it out into a flat piece with rounded edges. I used a 9×13 cookie sheet which worked great. A good trick is to roll out a piece of parchment about the size of your baking dish so you know how much to roll out the focaccia dough. I find parchment paper works better than foil.
Second Rise Before Baking
After rolling out the dough, place the damp towel over the focaccia once again and let it rise for another 25 minutes. This will ensure fluffy, delicious bread.
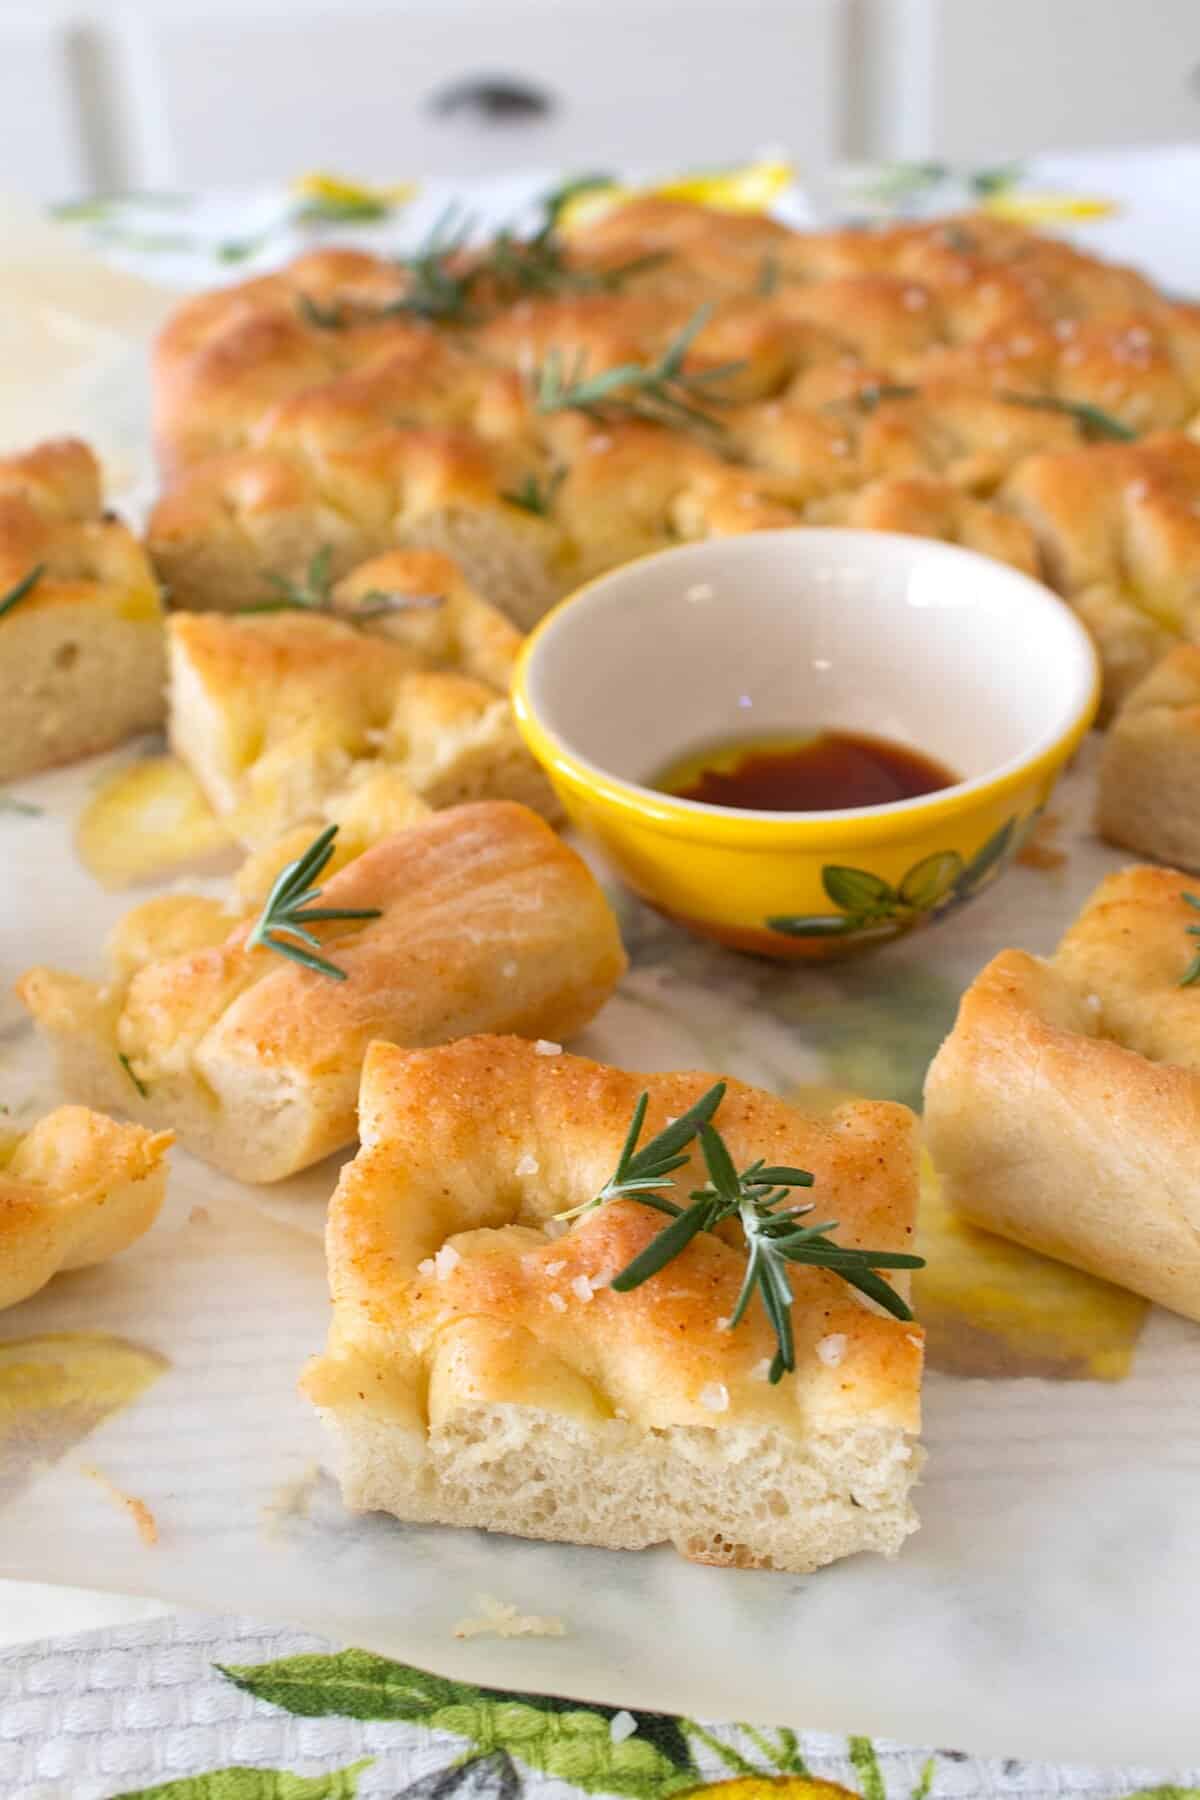
Once it has risen, poke holes in it with your finger, and then drizzle olive oil over the top.
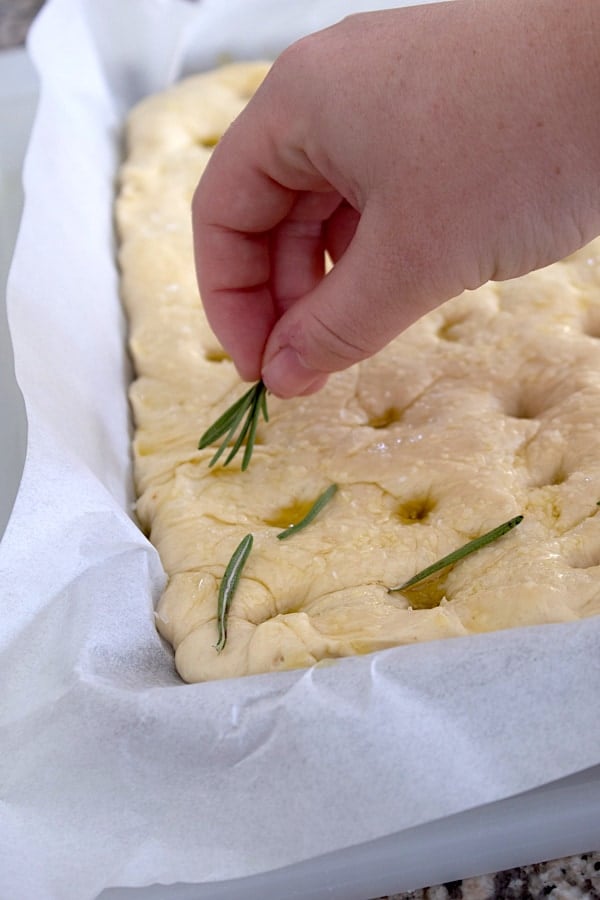
Topping Focaccia Bread
You can top focaccia bread with whatever you like best. It’s a super easy way to add loads of flavor and character to plain bread, which is not to knock plain bread, it’s delicious, too!)
Focaccia Topping Ideas
- Fresh Herbs
- Rosemary
- Dill
- Basil
- Tarragon
- Parsley
- Carmelized Onions
- Ricotta Cheese
- Mozzarella
- Carmelized Onions
- Boursin Cheese
- Garlic
- Jalapeños
- Pesto
Questions Answered about Focaccia Bread
- What exactly is focaccia bread?
- Focaccia is a flat Italian bread, almost similar in style and texture to pizza dough. Focaccia bread can be used as a side, as a snack, or even as sandwich bread.
- Why does the yeast need to be proofed?
- “Proofing” yeast (sometimes alternatively called ‘proving yeast’) proves that the yeast is ‘alive’ and active.
- Basically- you’re making sure the yeast is alive before you bake it to make sure the recipe goes as planned. If yeast doesn’t foam, it’s likely old yeast and you need to use fresh.
- Why does the focaccia dough have to rise? How does it rise?
- It helps make it fluffy, light and delicious! In short, if you bake bread without letting it rise, the yeast is killed off and without the bread rising, you’ll have flat, no fun focaccia dough.
- Is focaccia bread hard to make?
- No! it’s actually really easy. It can just be time consuming because of the rise time, but it is worth it.
- How do I eat focaccia bread?
- By itself, dipped in marinara sauce, as an appetizer, or even with these pressed Italian sandwiches. You can also serve it by itself with some olive oil and balsamic vinegar on the side.
- Can I make sandwiches with focaccia bread?
- Yes! We even made BLT’s with it and it was so good. Dip them in tomato soup 🙂
- I’ve seen that fancy decorated focaccia bread- how do I do that?
- Here is a great recipe for that! Actually, if you google ‘decorated focaccia bread’ you’ll find tons of ideas.
- I have now decided I love baking bread. What other bread recipes can you recommend?

To fresh bread, one of our most favorite things ever!
Clink,
Kathi and Rachel
What do you think about this recipe?Have questions? Comment below!Don’t forget to like us on Facebook, and connect with us on Instagram and tag your @Laughingspatula recipes with #laughingspatula,while you’re at it…We love to see your pics!
Hey and check out our new YouTube Channel!

Easy Focaccia Bread
Equipment
- 9x13 sheet pan
- bowl for rising
- cutting board
Ingredients
- 1 1/3 cup warm water (about 110 degrees farenheit)
- 2 tsp honey
- 1 (.25 ounce) package of active dry yeast
- 3.5 cups all purpose flour
- 1/4 cup olive oil
- sea salt
- fresh rosemary optional
Instructions
- Add warm water, yeast and honey to stand mixer with dough hook attachment. Stir water mixture and let sit 5-10 minutes until foamy. *Note- if the yeast is bad, it will not foam. If it doesn't foam, get some fresh active yeast and start over.
- Set mixer to low and gradually add in flour, olive oil and salt. Continue to mix, and increase speed of mixer to medium. Mix until dough pulls away from side of bowl. *If dough is still sticky after fully , add 1/4 cup flour gradually.
- Spray hands with nonstick spray (or olive oil) and remove the dough from the mixer, shaping dough into a ball. Place in a greased (with nonstick spray or olive oil) bowl and cover with damp towel. Let rise in a warm environment (a laundry room with the dryer on works great, or a sun facing window) for 45-60 minutes.
- Once the dough has risen, place dough on greased surface. Roll it out to be about 1/2 inch thick, and roughly the size of a 9x13 inch baking pan. Cover again with damp towel, and let rise for additional 20 minutes.
- Preheat oven to 400 degrees farenheit.
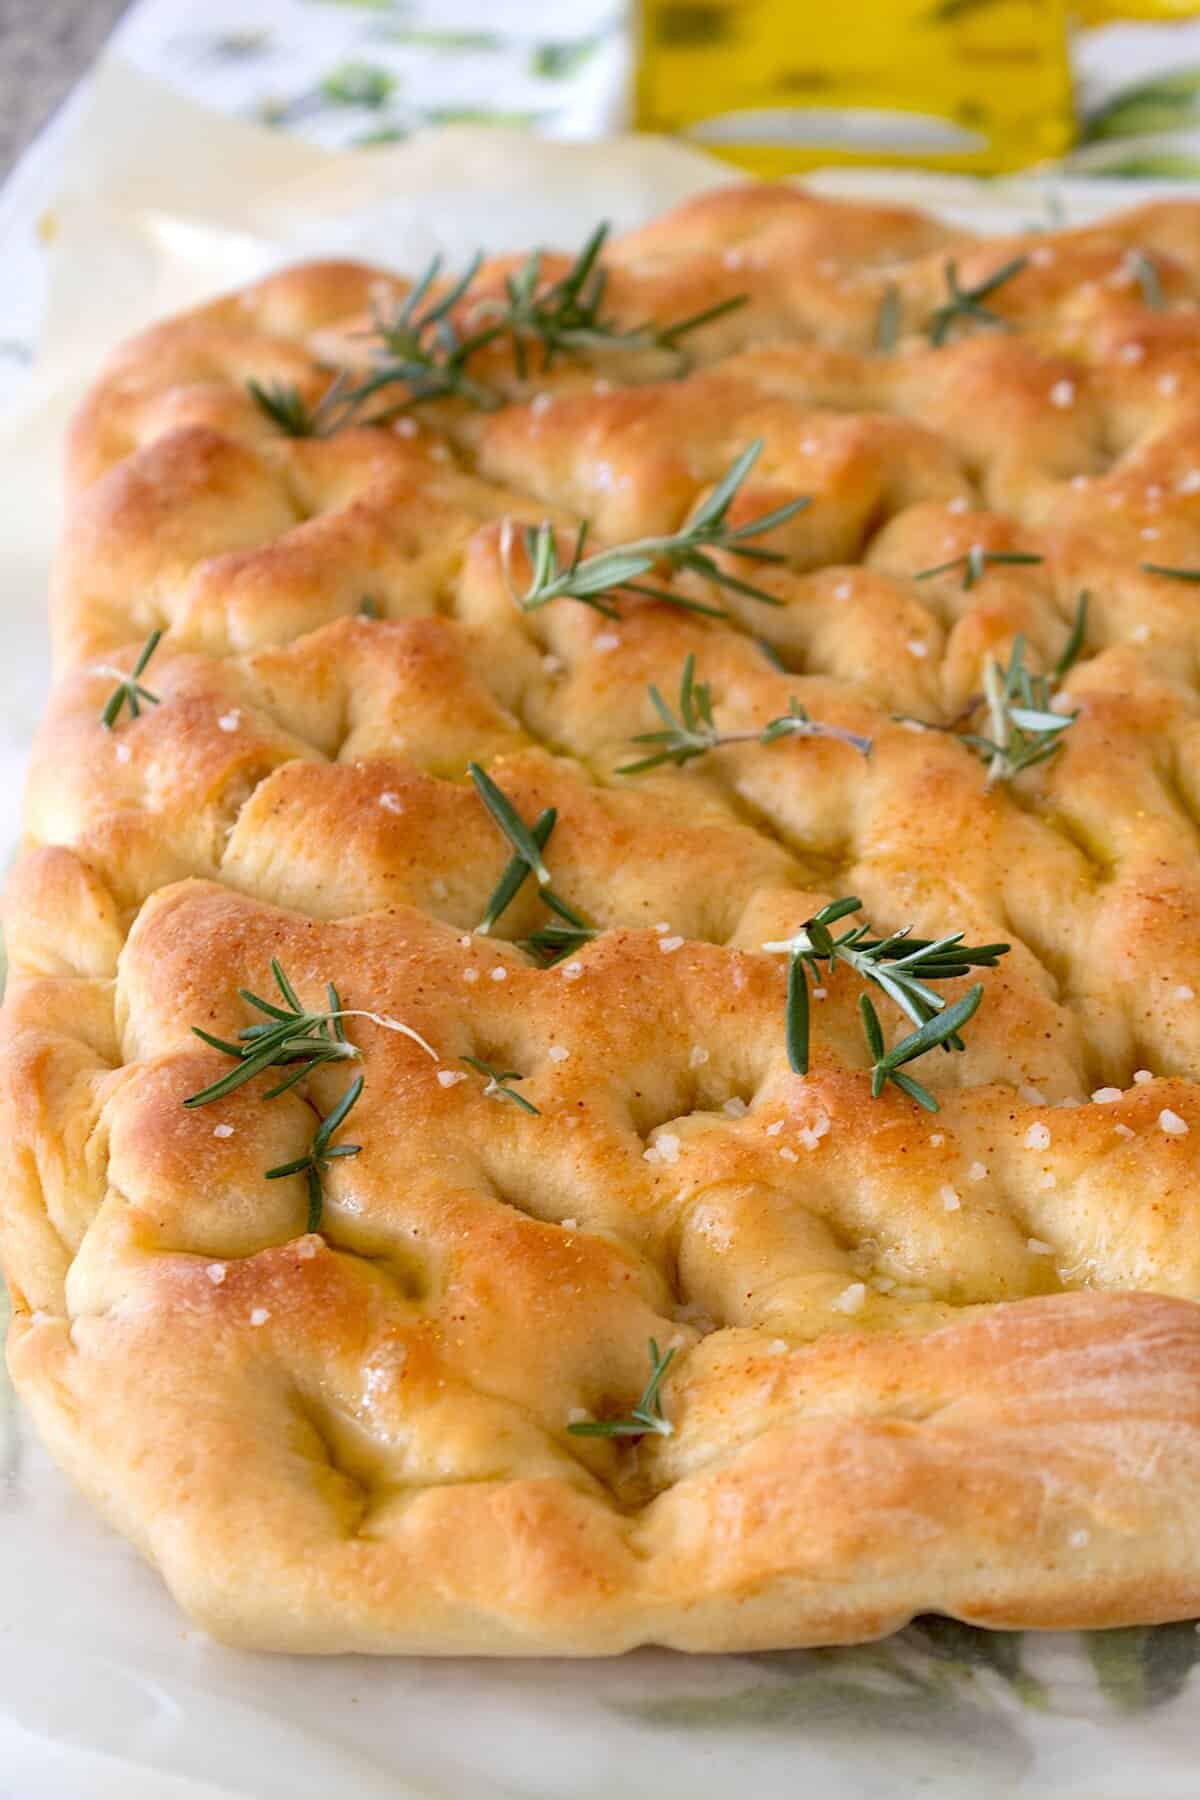
- Transfer dough to parchment lined 9x13 baking sheet. Use fingers to poke even holes (all the way through to the pan), drizzle with olive oil, sprinkle with salt (and rosemary needles if you desire) and bake for 20 minutes, or until golden brown and cooked through.
- Drizzle with additional olive oil if desired and serve/enjoy!
Notes
- In a mixing bowl, gradually stir in flour, olive oil and salt until dough begins to form (it will be sticky). Afterwards, turn the dough out onto a surface sprayed with nonstick spray (or olive oil) and knead by hand for 5 minutes until smooth. If the dough feels sticky, add 1/4 cup flour gradually until desired consistency is reached.
-
-
- Fresh Herbs (Dill, tarragon, cilantro, parsley, etc.). Be cautious that some herbs may burn in the oven- you may be better mixing them into the dough rather than adding them on top.
- Garlic- whole cloves are delicious and caramelize in the oven.
- Thin sliced tomatoes
- Olives- Kalamata or black, whole or sliced.
- Parmesan or Mozzarella Cheese
-


Leave a Reply