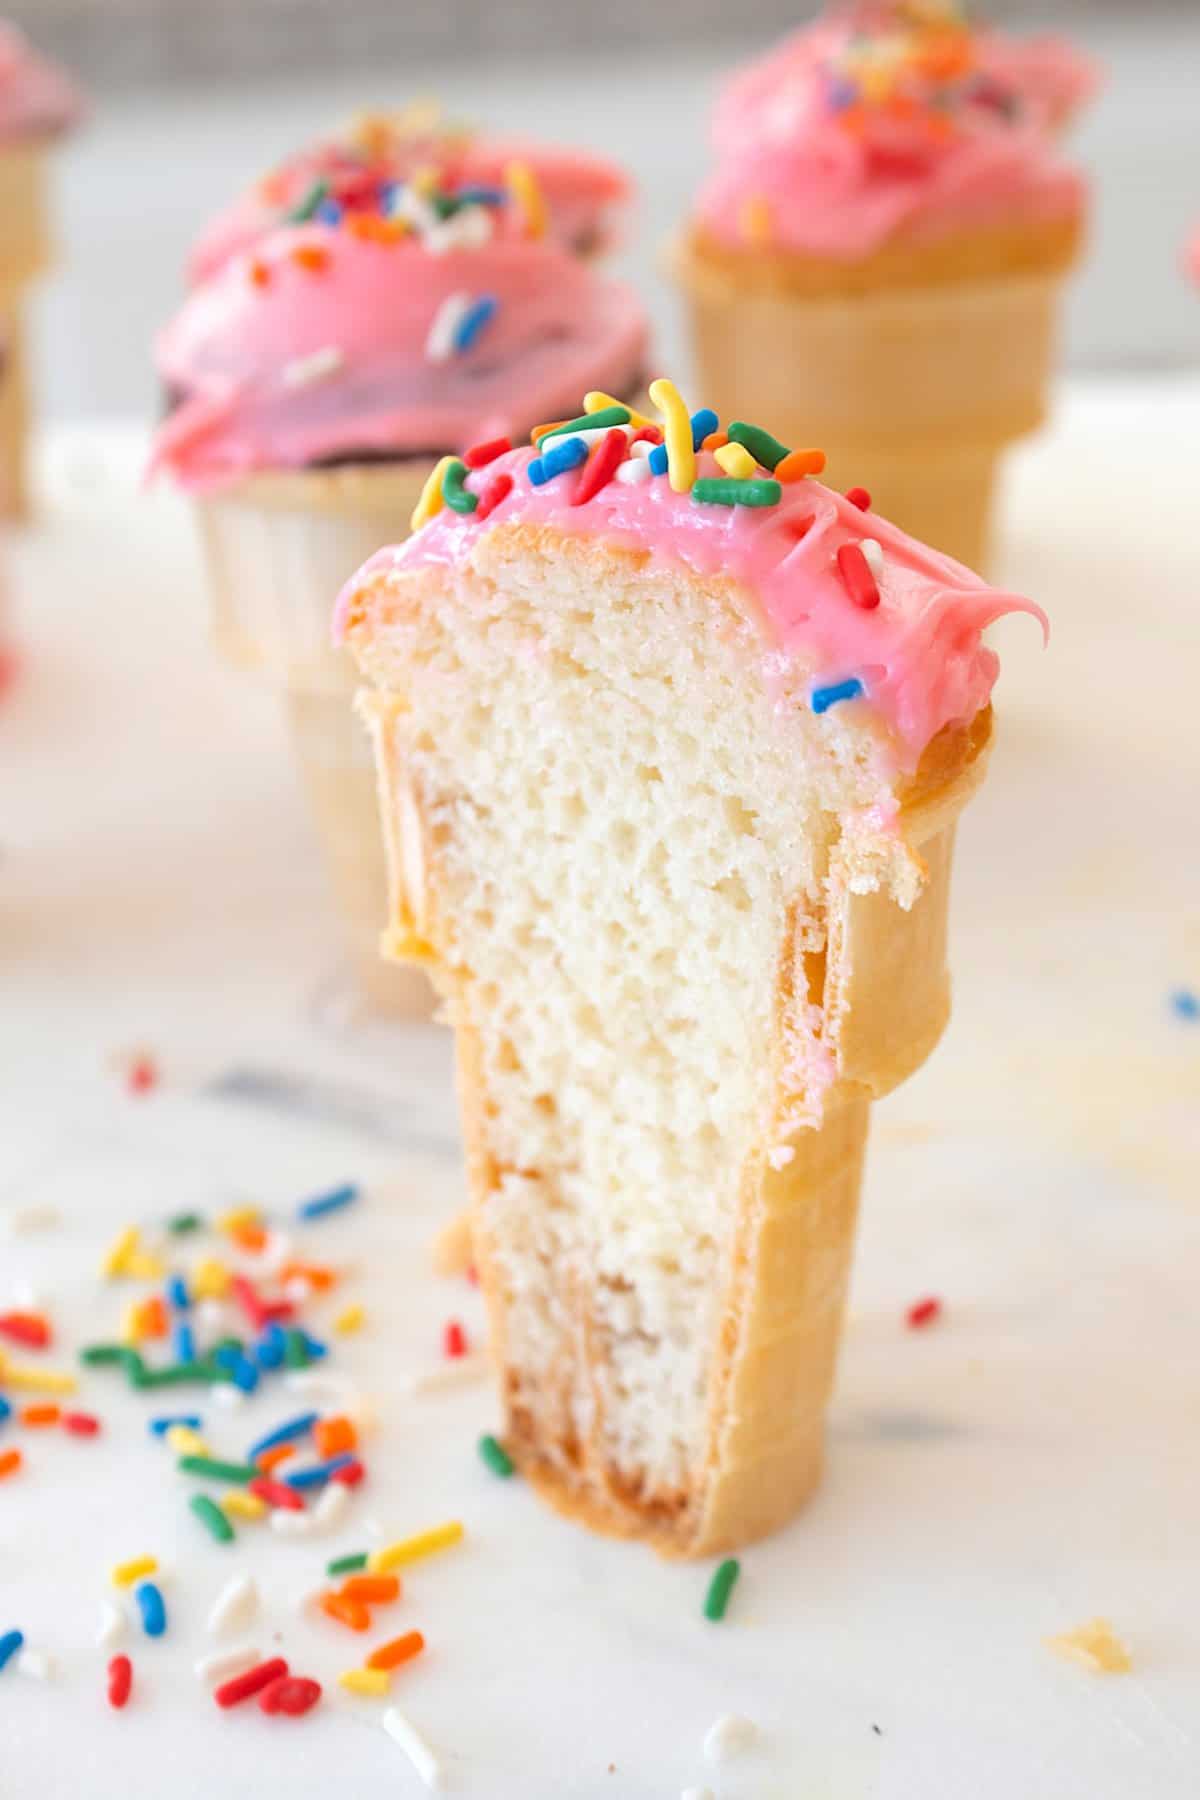
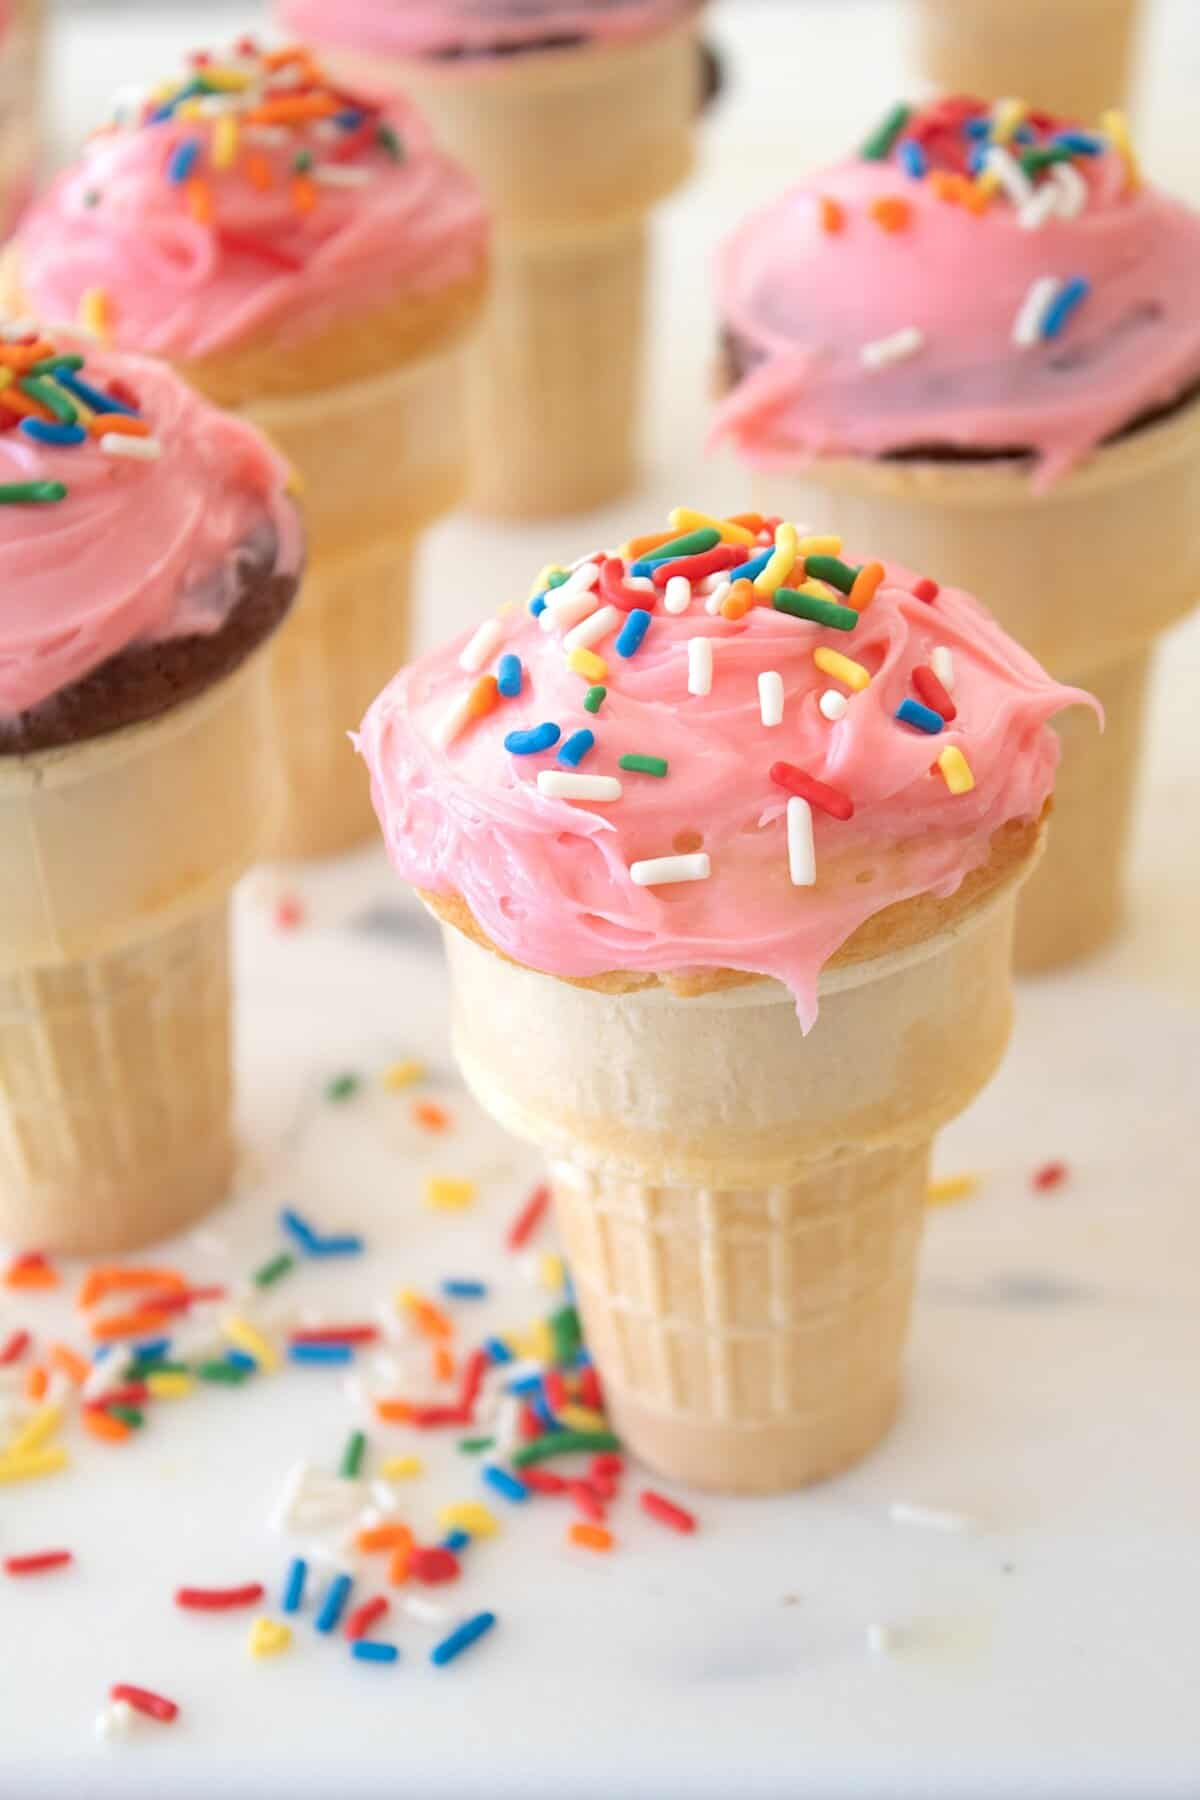
Ice Cream Cone Cupcakes are so fun, and such an easy way to make cupcakes portable and super cute. We’ll show you how to make cake filled ice cream cones using any type of cake mix and frosting (boxed or homemade). Decorate with a few sprinkles, and you have the cutest, most portable super easy cupcake ice cream cone treat!
Ice Cream Cone Cupcakes
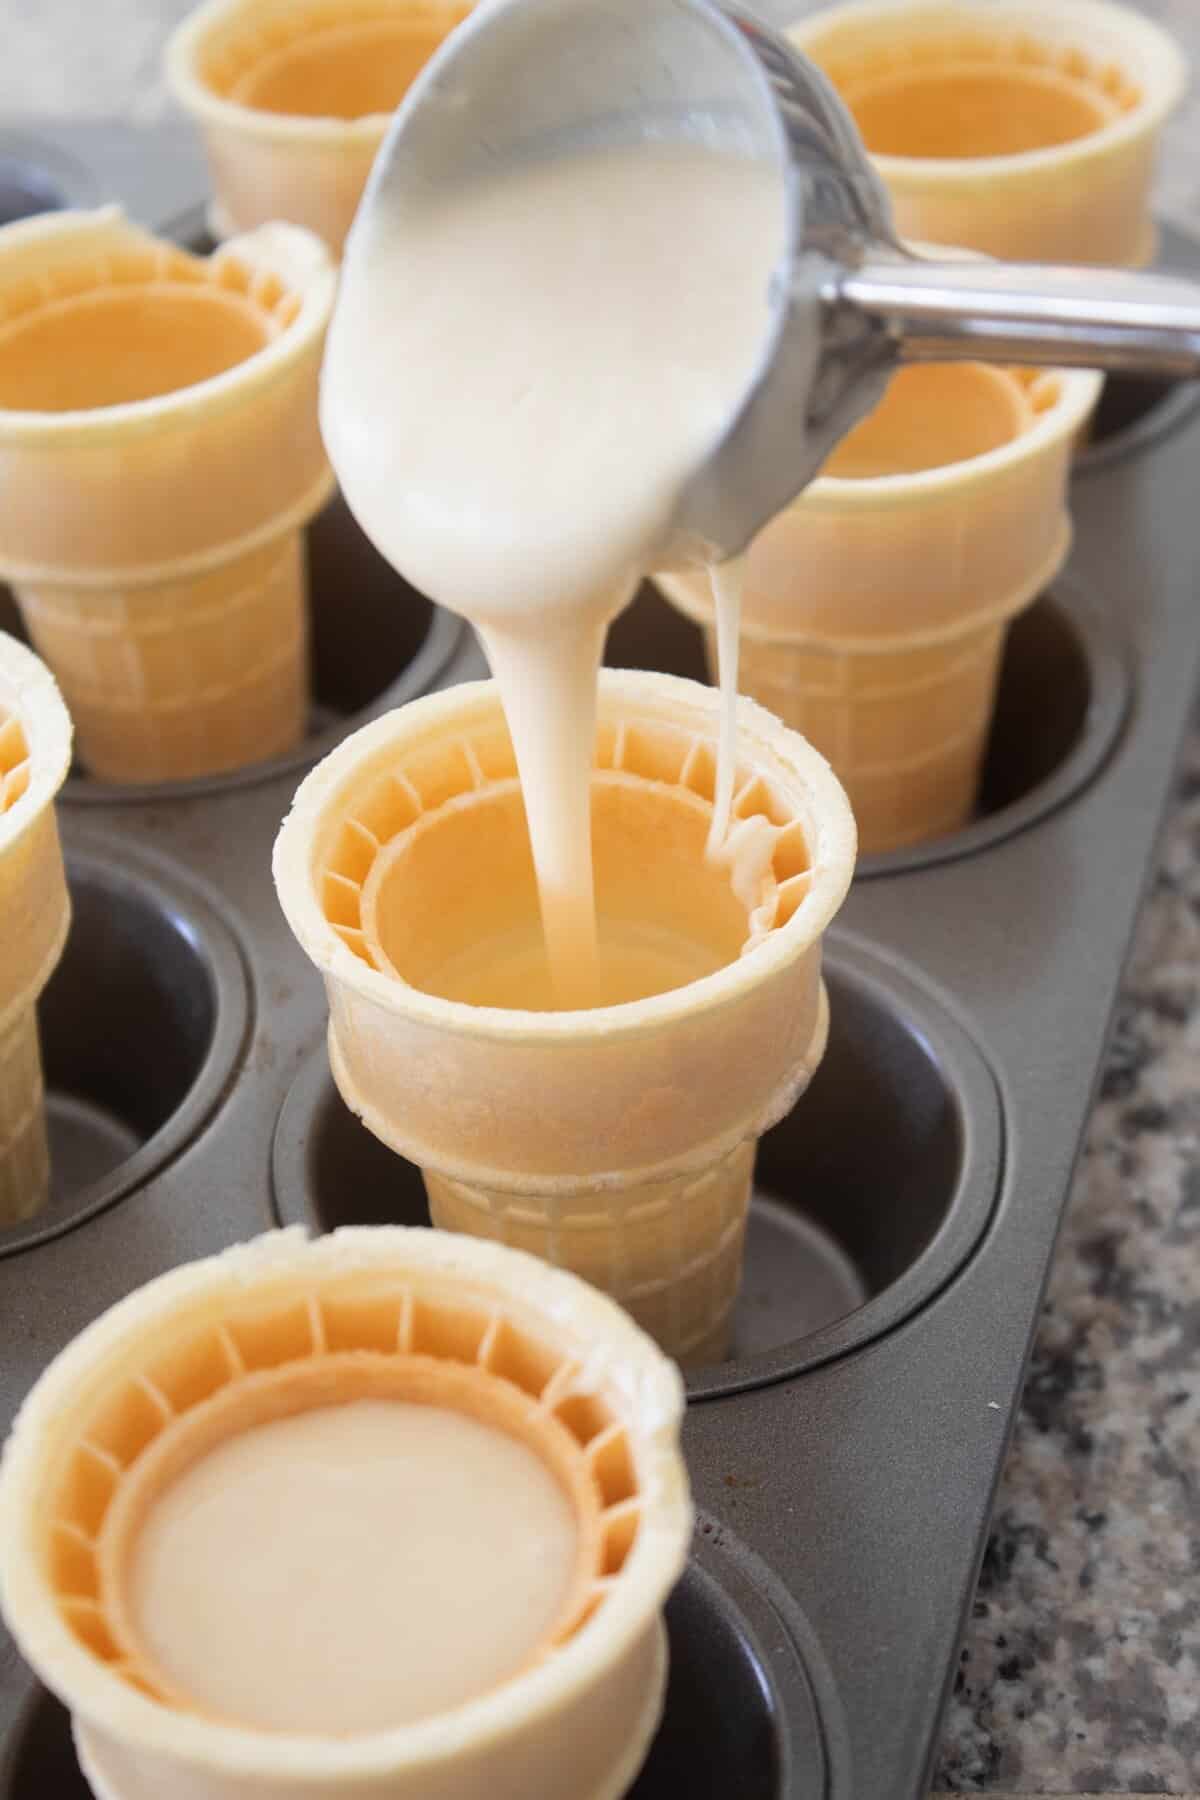
Making cupcakes in ice cream cones is just as easy as making cupcakes in liners. Place flat bottom ice cream cones on a muffin tin, then simply fill the ice cream cones with cake batter. I recommend using a cookie scoop for this. You want to fill them so they’re about 1.5 inches below the top of the ice cream cones they don’t overflow.
Cake Recommendations for Cone Cupcakes
I’ll be honest, I use box cake mix for these. When I was looking up recipes for cupcake cones, not a lot of them talked about using boxed cake mix, and it really helps save a step.
You can definitely use homemade cake, so here’s a few recipe recommendations if you want to try! The fun part about making your own cake batter is that you can use different flavors.
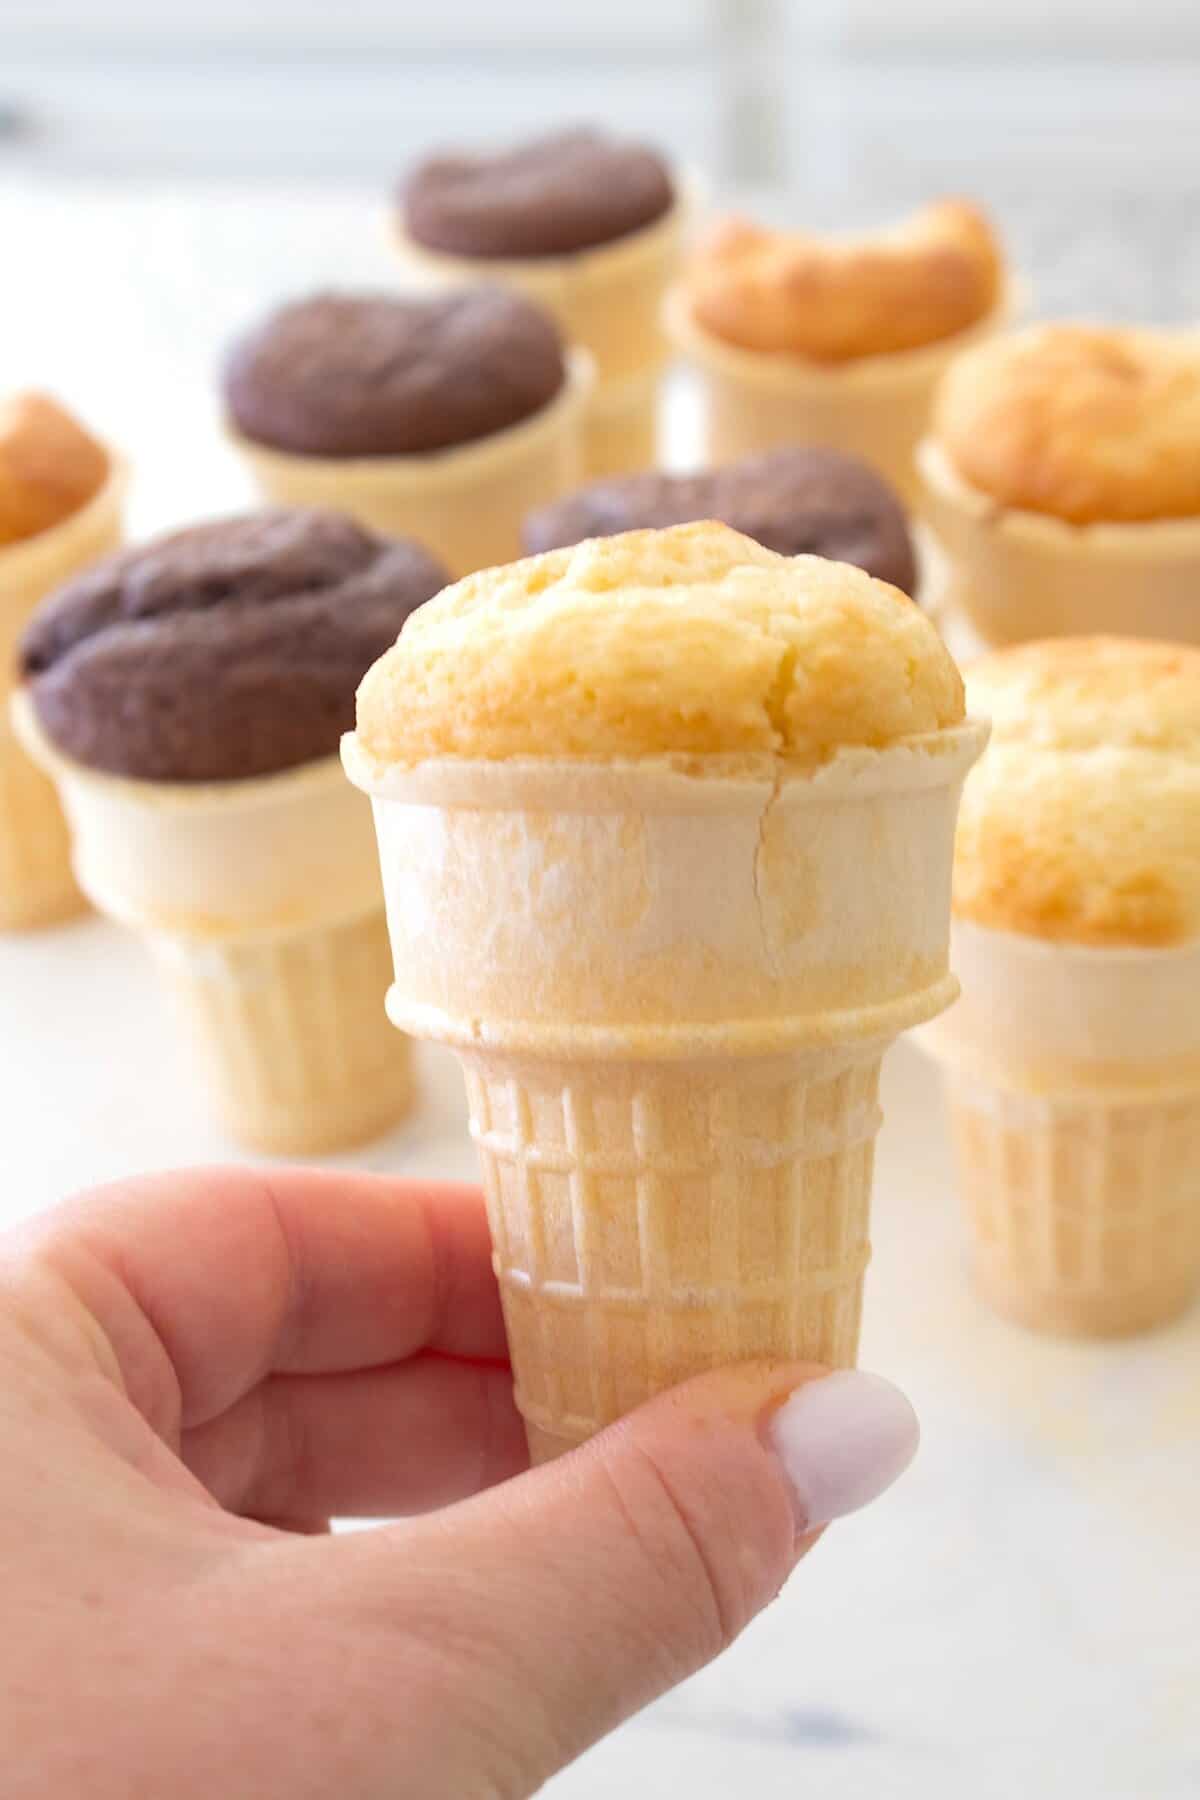
Baking Cake Batter in Ice Cream Cones
Preheat the oven according to your cake recipe or box mix, and then place flat bottom ice cream cone on the muffin tin. When I did this for the first time, I was concerned they would fall on the way to the oven. However, once the batter is in the cones, it weighs them down a little, so with a little cautiousness in carrying the tray, they shouldn’t tip.
- Add batter to cones on a muffin tray.
- Note- Cones hold about the same amount as a traditional cupcake liner.
- Once the cones are full of batter (see the photo) bake them until a toothpick comes out clean.
Pro Tip: If you’ve using vanilla cake mix, you can easily add a little bit of cocoa powder, and some chocolate chips to make a chocolate cake mix so you can bake half vanilla and half chocolate!
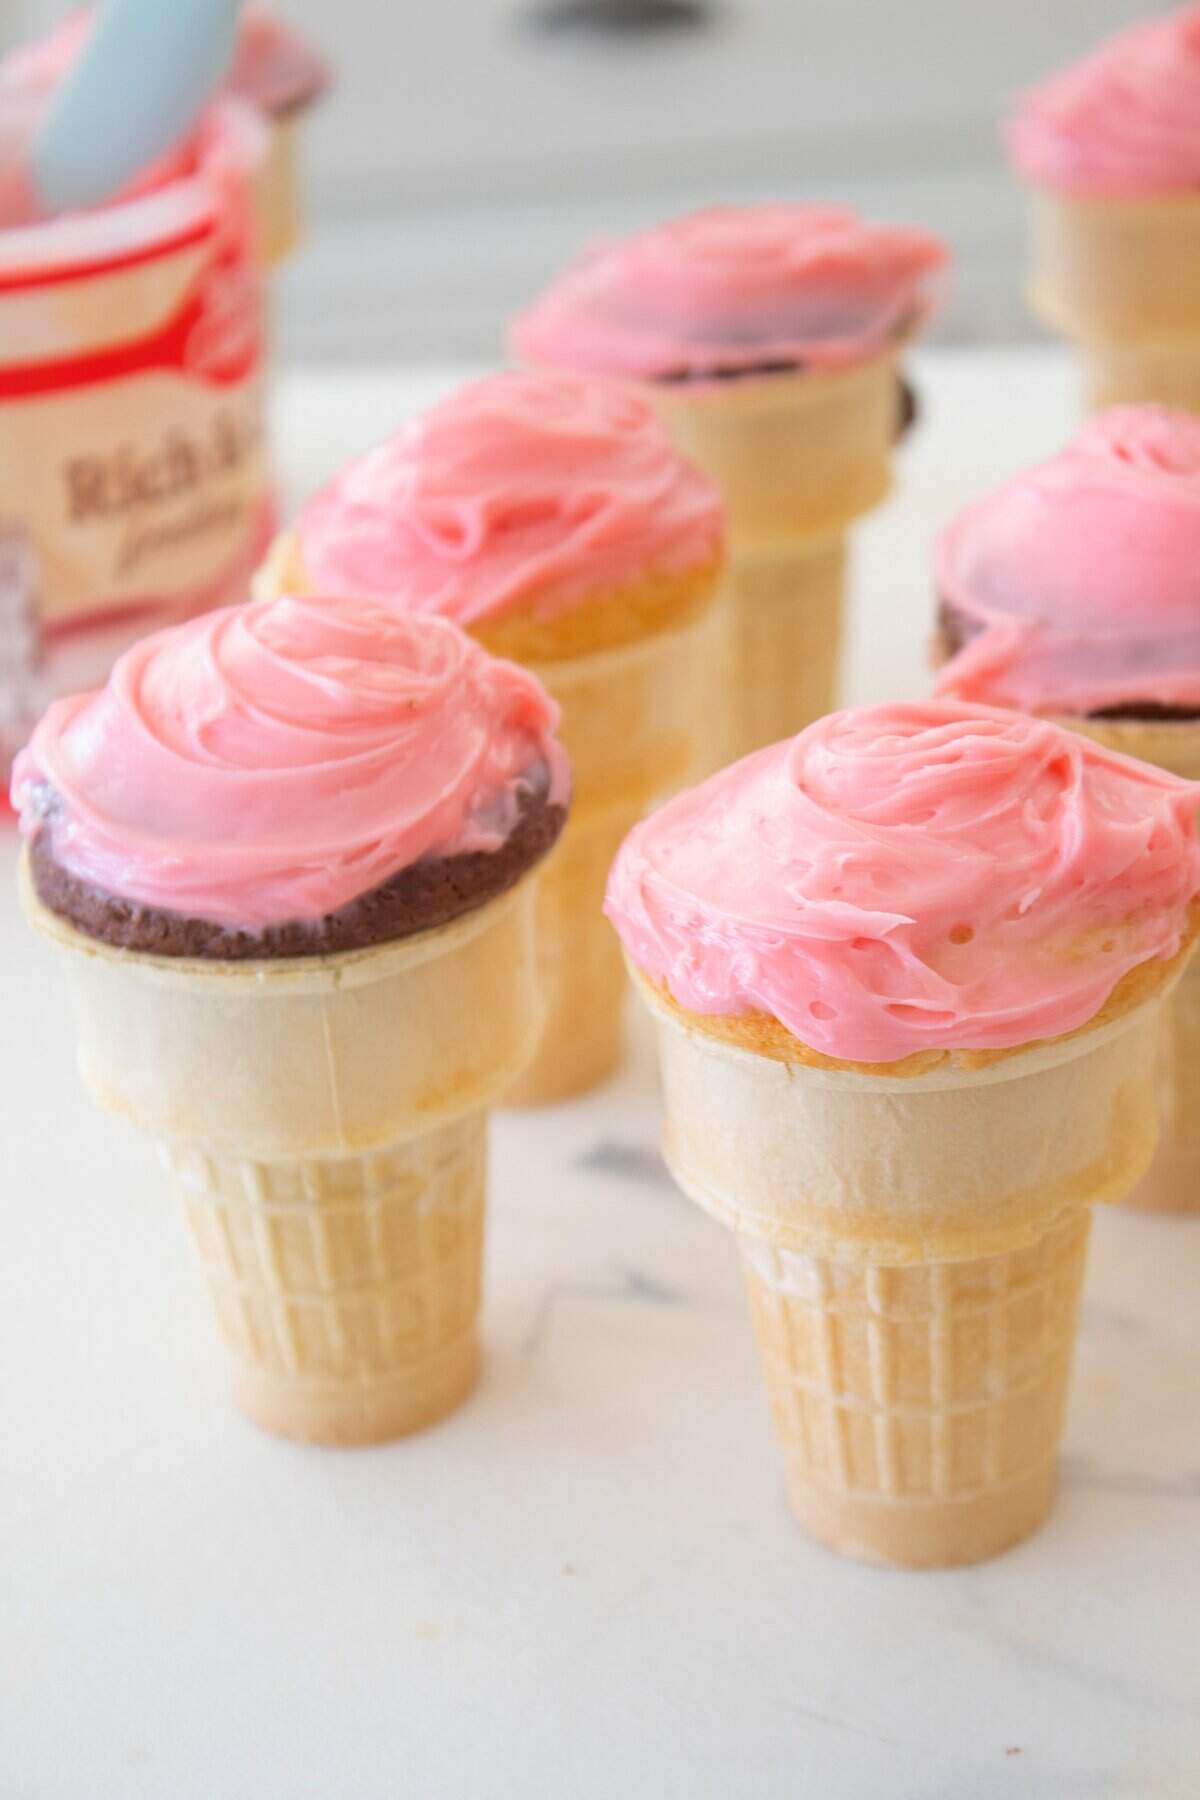
Decorating Ice Cream Cone Cupcakes
Allow the cupcake cones to fully cool, and then you can decorate them. Go crazy! These are so fun to make pretty. Perfect for little hands too, because the cone helps to hold them, dip them, etc!
- Storebought icing works great. My favorite flavor is cherry and I love the pop of pink.
- Did you know? You can purchase pre filled piping bags from the Walmart bakery!
- You can use plain old vanilla frosting and color it as you please for any party theme.
- If you want to make your own frosting, here’s a few recipe I really like:
Storing and Serving
Once the cupcake cones are decorated, it’s time to eat!
I will tell you, these do not keep well for more than a day or two. They tend to soften a bit.I recommend making them no more than 24 hours prior to serving. Be sure to put them in an airtight container if you are serving them next day to keep the cones as crispy as possible.
More Cake Recipes
Who doesn’t love cake? Everybody loves cake. Here’s some more recipes we think you’ll enjoy!
Time to eat! Kathi and Rachel
What do you think about this recipe? Have questions? Comment below! Don’t forget to like us on Facebook, and connect with us on Instagram and tag your @Laughingspatula recipes with #laughingspatula,while you’re at it…We love to see your pics!
Hey and check out our new YouTube Channel!

Ice Cream Cone Cupcakes
Ingredients
- 12 ice cream cones (flat bottom)
- 1 box cake mix
- 1 16 oz container of frosting
- sprinkles
Instructions
- Preheat oven according to cake mix instructions. Add 12 flat bottom ice cream cones to a 12 count muffin tin.
- Prepare cake mix according to package directions.
- Fill each cone until about 1 1/2 inches below the rim. Bake for about 12-15 minutes or until a toothpick inserted into center of cone cupcake comes out clean.
- Allow cupcake cones to cool for at least 10 minutes, or until fully cooled.
- Decorate cones as desired. Serve and enjoy.


Leave a Reply